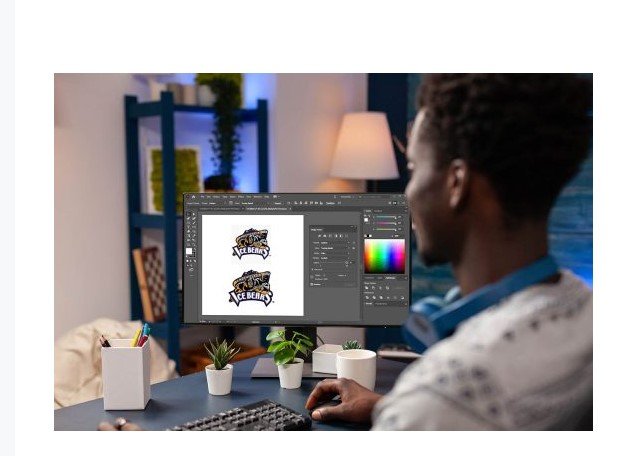
Good artwork is the base of many print and design jobs. A small logo may look fine on a screen, but it can look rough when you make it much bigger. This often happens with raster images. They are made from small pixels. When you enlarge them too much, the edges can look soft or jagged.
If you need to Turn an Image Into a Vector File, the goal is to rebuild the artwork with clean lines, shapes, and curves. Vector artwork can be resized without the same loss of edge quality. This makes it useful for logos, signs, shirts, labels, stickers, packaging, and many other projects. A good vector file is also easier to edit and prepare for print or embroidery.
What Is a Vector File?
A vector file is made with paths, points, lines, and shapes. It does not depend on a fixed grid of pixels in the same way a JPG or PNG does.
Common vector formats include:
- AI
- EPS
- SVG
The exact format you need depends on the software, printer, or production method.
Why Vector Artwork Is Useful
Vector art can be scaled up or down while keeping clean edges. This is one of its main benefits.
For example, a small logo may need to appear on both a business card and a large sign. A good vector file can be used for both sizes.
Vector artwork can also be easier to:
- Edit
- Change colors
- Resize
- Separate shapes
- Prepare for print
- Use for branding
- Prepare for embroidery digitizing
Raster vs. Vector Artwork
Understanding the difference helps you know when conversion is needed.
Raster Images
Raster files use pixels. JPG, PNG, GIF, and many other common image files fall into this group.
They work well for photos and web graphics. But they can lose sharpness when enlarged.
Vector Images
Vector files use paths and shapes. They are often a better choice for logos, icons, line art, and simple graphics.
A vector logo can be made very small or very large while keeping its edges clean.
When Should You Convert an Image?
Not every image needs vector conversion. A photo with many shades and tiny details may not work well as a simple vector drawing.
Conversion is often useful when you have:
- A blurry logo
- A small JPG logo
- A scanned drawing
- A low-quality PNG
- Old brand artwork
- A printed logo that needs to be reused
- Artwork that needs to be enlarged
If the image is a company logo, clean vector artwork can be a useful long-term asset.
Start With the Best Image You Have
The quality of the source image can affect the work.
A large, clear image gives the designer more information. A tiny or blurry image may require more manual work.
Before starting, gather the best version of the artwork you have.
Check the Image Closely
Look for:
- Broken edges
- Missing parts
- Wrong colors
- Blurry text
- Small details
- Uneven lines
If the logo has text, make sure the letters are clear enough to identify.
Clean the Artwork First
Before tracing the image, remove things that should not be part of the final design.
This may include:
- Background marks
- Dust
- Shadows
- Extra lines
- White spaces
- Unwanted shapes
Cleaning the source helps make the tracing process easier.
Choose the Right Vector Method
There are two main ways to create vector artwork.
Automatic Tracing
Many design tools have an image trace feature. It can quickly create paths from a raster image.
This can work well for simple artwork with strong shapes and clear contrast.
But automatic tracing is not always perfect. It may create too many points or make curves look uneven.
Manual Vector Tracing
Manual tracing gives the designer more control. The designer creates paths around the main shapes and adjusts curves by hand.
This can take more time, but it often gives a cleaner result.
For business logos and important brand artwork, careful manual work can be worth the extra effort.
Keep Curves Smooth
Smooth curves are important in vector artwork.
Too many points can make a curve look rough. Too few points may change the shape.
A skilled designer places points where they are needed and adjusts the handles to create smooth lines.
This is especially important for:
- Round logos
- Lettering
- Icons
- Badges
- Product shapes
- Decorative artwork
Keep the Original Look
Vector conversion should not change the main look of the artwork without a reason.
The designer should aim to keep:
- Shape
- Proportion
- Color
- Text
- Spacing
- Key details
The goal is to create a clean vector version of the original artwork, not a completely new design.
Pay Attention to Color
Color can change during the conversion process.
If the artwork is for print, the color mode and final print method should be considered. A screen may show a color differently from printed material.
Use the Right Color Setup
Ask where the artwork will be used.
For example:
- Screen use may need RGB.
- Many print jobs use CMYK.
- Some brand files may use exact spot colors.
If a company has brand colors, keep the approved color values with the final vector file.
Simplify Small Details
Small details do not always work well when artwork is used at different sizes.
A tiny line may disappear on a small label. A very small gap may close when printed.
The best approach is to keep important details while removing parts that do not add value.
This is not about making the artwork plain. It is about making it useful.
Make Text Easy to Edit
Text in vector artwork should be handled with care.
If the final file needs to be edited, keeping text editable can be useful. But the person opening the file may not have the same font.
For final production, text may sometimes be converted to outlines. This changes the letters into vector shapes.
Always keep a working copy with editable text when possible.
Check the Final Vector File
Do not stop when the image looks good at first glance.
Zoom in and check the paths.
Look for:
- Open paths
- Extra points
- Uneven curves
- Overlapping shapes
- Wrong colors
- Gaps
- Missing details
- Hidden objects
A clean file should be simple enough to edit and use.
Test the Artwork for Its Final Use
A vector file may look great on a computer but still need changes for production.
For print, check a proof when possible.
For embroidery, the vector file is usually only the artwork source. It still needs to be digitized into stitches. Stitch type, density, underlay, and stitch direction must be planned for the fabric and design size.
This is where a clean vector file can help. Good source artwork gives the digitizer a clearer base to work from.
Why Professional Vector Conversion Can Help
DIY tools can work for basic images. But complex logos may need more care.
Professional conversion can be useful when:
- The source image is very poor.
- The logo has many shapes.
- Curves must be exact.
- Brand colors must stay consistent.
- The file will be used for many products.
- The artwork needs to support embroidery.
- The final file must be clean and easy to edit.
Absolute Digitizing can help prepare artwork for different production needs. Careful vector work can give businesses a better source file for print, branding, and embroidery projects.
Common Mistakes to Avoid
Using Automatic Trace Without Checking It
An automatic trace can create too many points and messy paths.
Keeping Every Tiny Detail
More detail does not always mean better artwork. Some small parts may cause problems at smaller sizes.
Ignoring Color Needs
The correct color setup depends on where the artwork will be used.
Forgetting the Final Size
A design made for a large sign may need changes before it is used on a small label.
Saving Only One File
Keep a working file and production-ready copies when possible. This makes future changes easier.
How to Choose a Vector Conversion Service
If you plan to hire a designer, check their past work first.
Review Real Samples
Look for smooth curves, clean edges, and accurate shapes.
Ask About File Formats
Tell the service where you plan to use the artwork. They can then suggest the right format.
Ask About Revisions
Find out if changes are included. This can be useful if the first version needs small adjustments.
Share Clear Instructions
Give the designer the original image, color details, final use, and any size needs.
Good instructions help reduce delays.
Final Tips for Better Vector Artwork
Keep these simple tips in mind:
- Start with the best source image you have.
- Clean the image before tracing.
- Use smooth paths.
- Avoid too many points.
- Keep key shapes accurate.
- Check colors carefully.
- Simplify details when needed.
- Keep an editable working copy.
- Check the file at different sizes.
- Test the artwork for its final use.
Final Thoughts
Turning a raster image into vector artwork is more than clicking an image trace button. The final file should have clean paths, smooth curves, correct colors, and useful shapes.
A good vector file gives your artwork more flexibility. You can use it for signs, apparel, logos, labels, print work, and branding. It can also provide a clean base for embroidery digitizing.
With careful tracing and proper file checks, even a small or low-quality logo can become clean artwork that is ready for many future projects.